How to program an LC&D schedule


Schedules
Schedules are used to set automatic on and off times for any relays inside an LC&D panel. They are also used to set up photocell schedules for the on-board photocell in a master Blue Box. To edit or view the existing schedules, select REVIEW SCHEDULE from the USER MENU and press ENTER. A column of schedules will appear on the left. What those schedules control will appear in the column on the right. The schedules (SCH 1, SCH 2…) contain the off and on times. The group to the right of a schedule, contains the relays that will turn on and off at those times. See the following screenshot:
Press SCROLL UP or SCROLL DOWN on a GROUP # or NO LOADS to change what group is controlled.
Schedule Types
Every Day
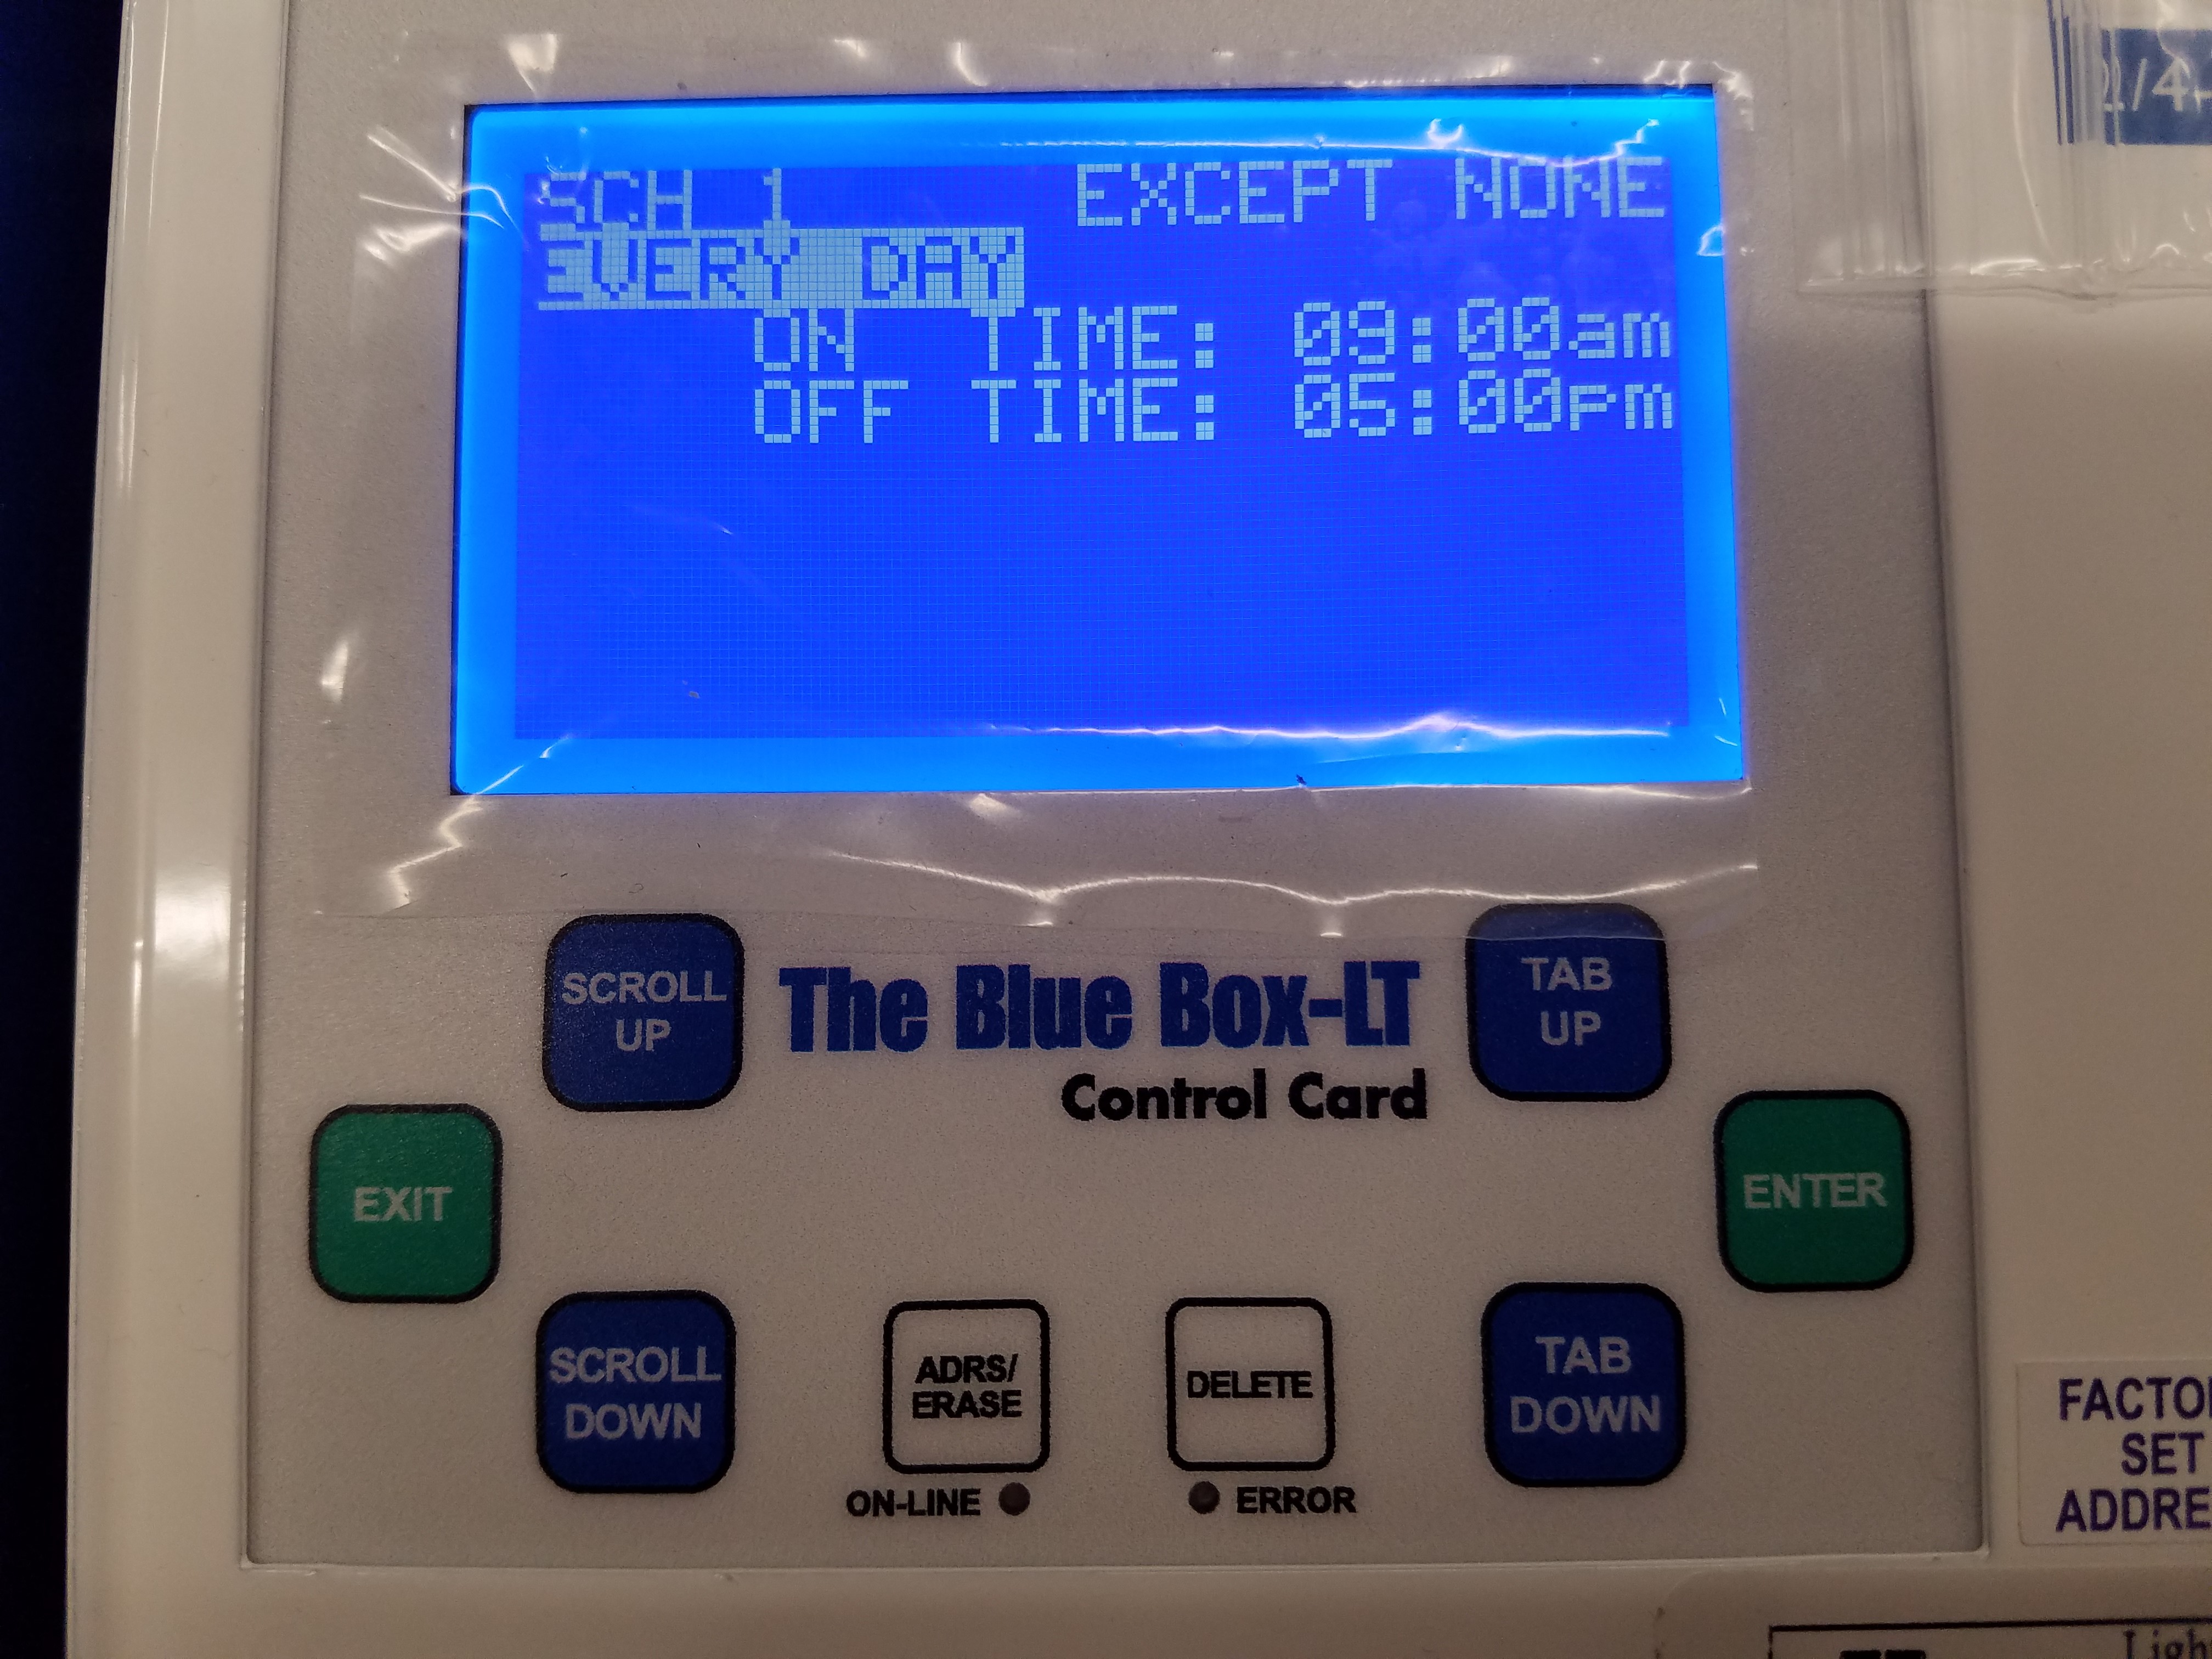
A schedule to set to EVERY DAY means that the schedule runs every day of the week, and does not change from day to day.
By Day
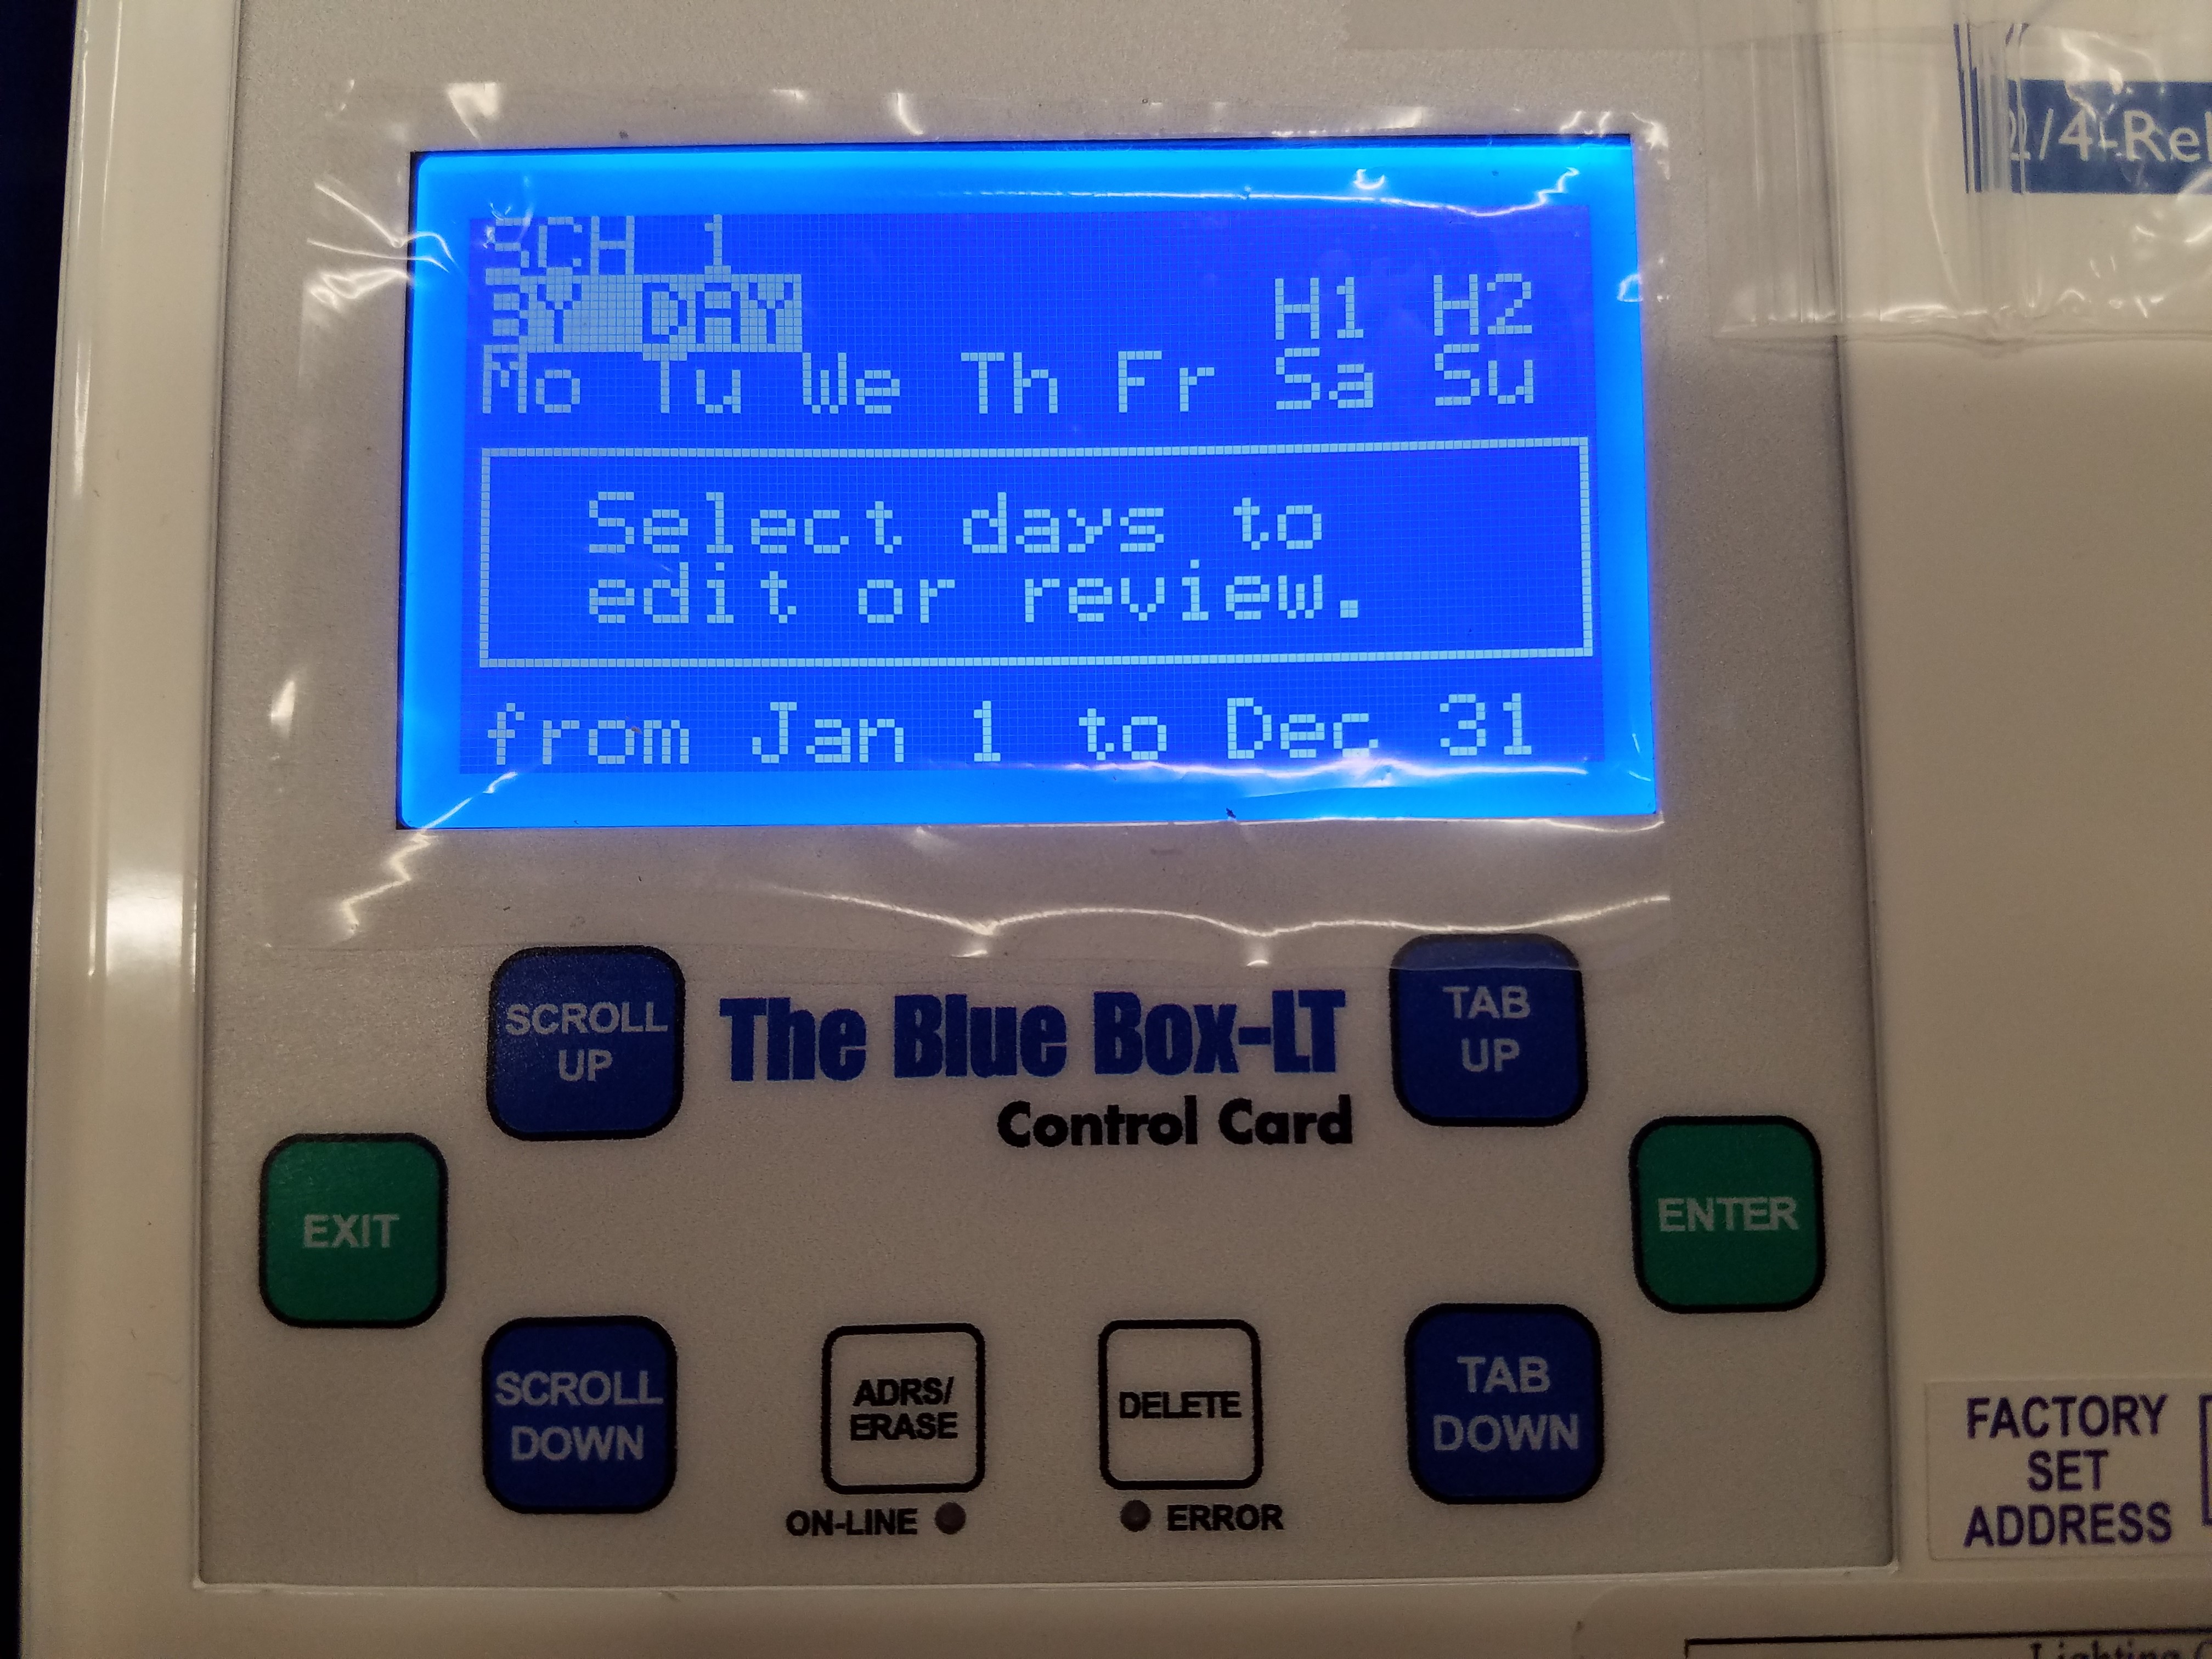
A BY DAY schedule is used when different on and off times are needed for different days of the week. Press ENTER on any day of the week to change the on and off times for that day. BY DAY schedules can also be set up to run within a certain range of dates. This range can be adjusted at the bottom of the BY DAY schedule screen.
Monday-Friday
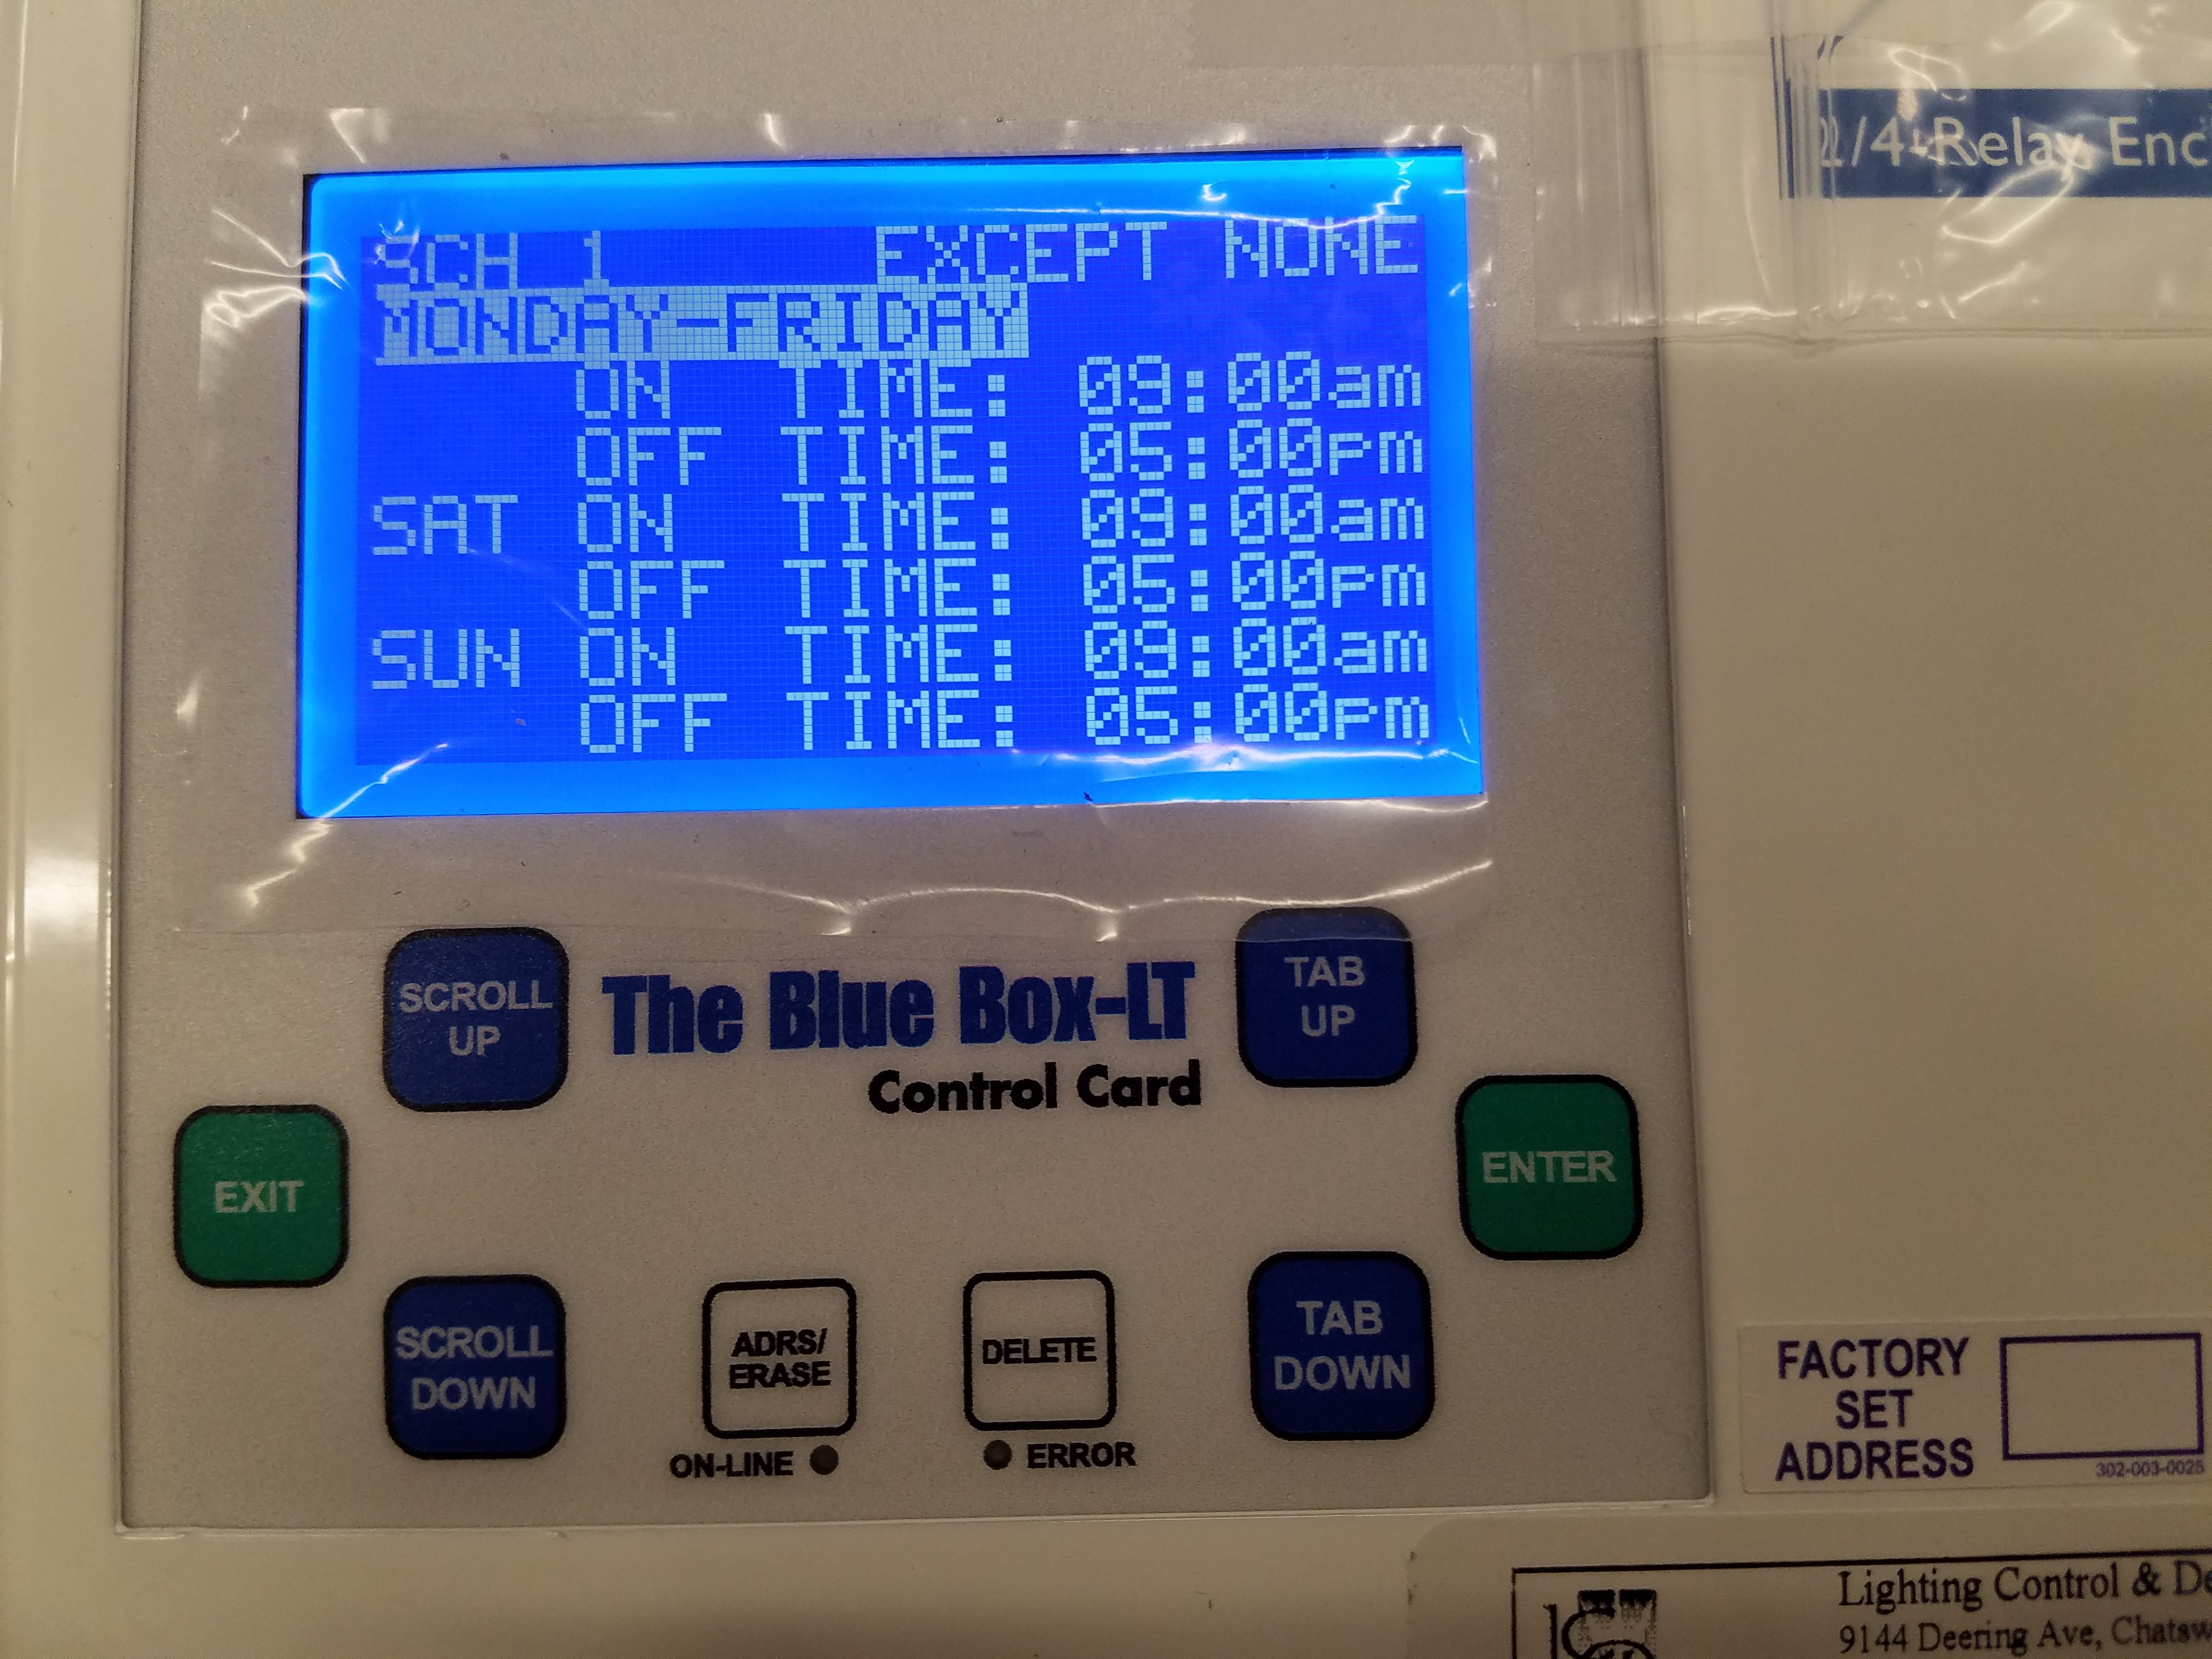
A schedule set to Monday-Friday runs the same schedule Monday through Friday, but allows you to program separate on and off times for both Saturday and Sunday.
Pressing SCROLL UP or SCROLL DOWN on the word TIME, changes control method of that timed event.
Schedule Control Methods
Time Based
When a schedule displays ON TIME, or OFF TIME, it is switching on or off its group at a particular time. This is the default control method for a schedule. The ON TIME indicates what time the schedule will turn its group on. The off time indicates what time the schedule will turn its group off. The time set on the controller is displayed on the start screen.
Photocell
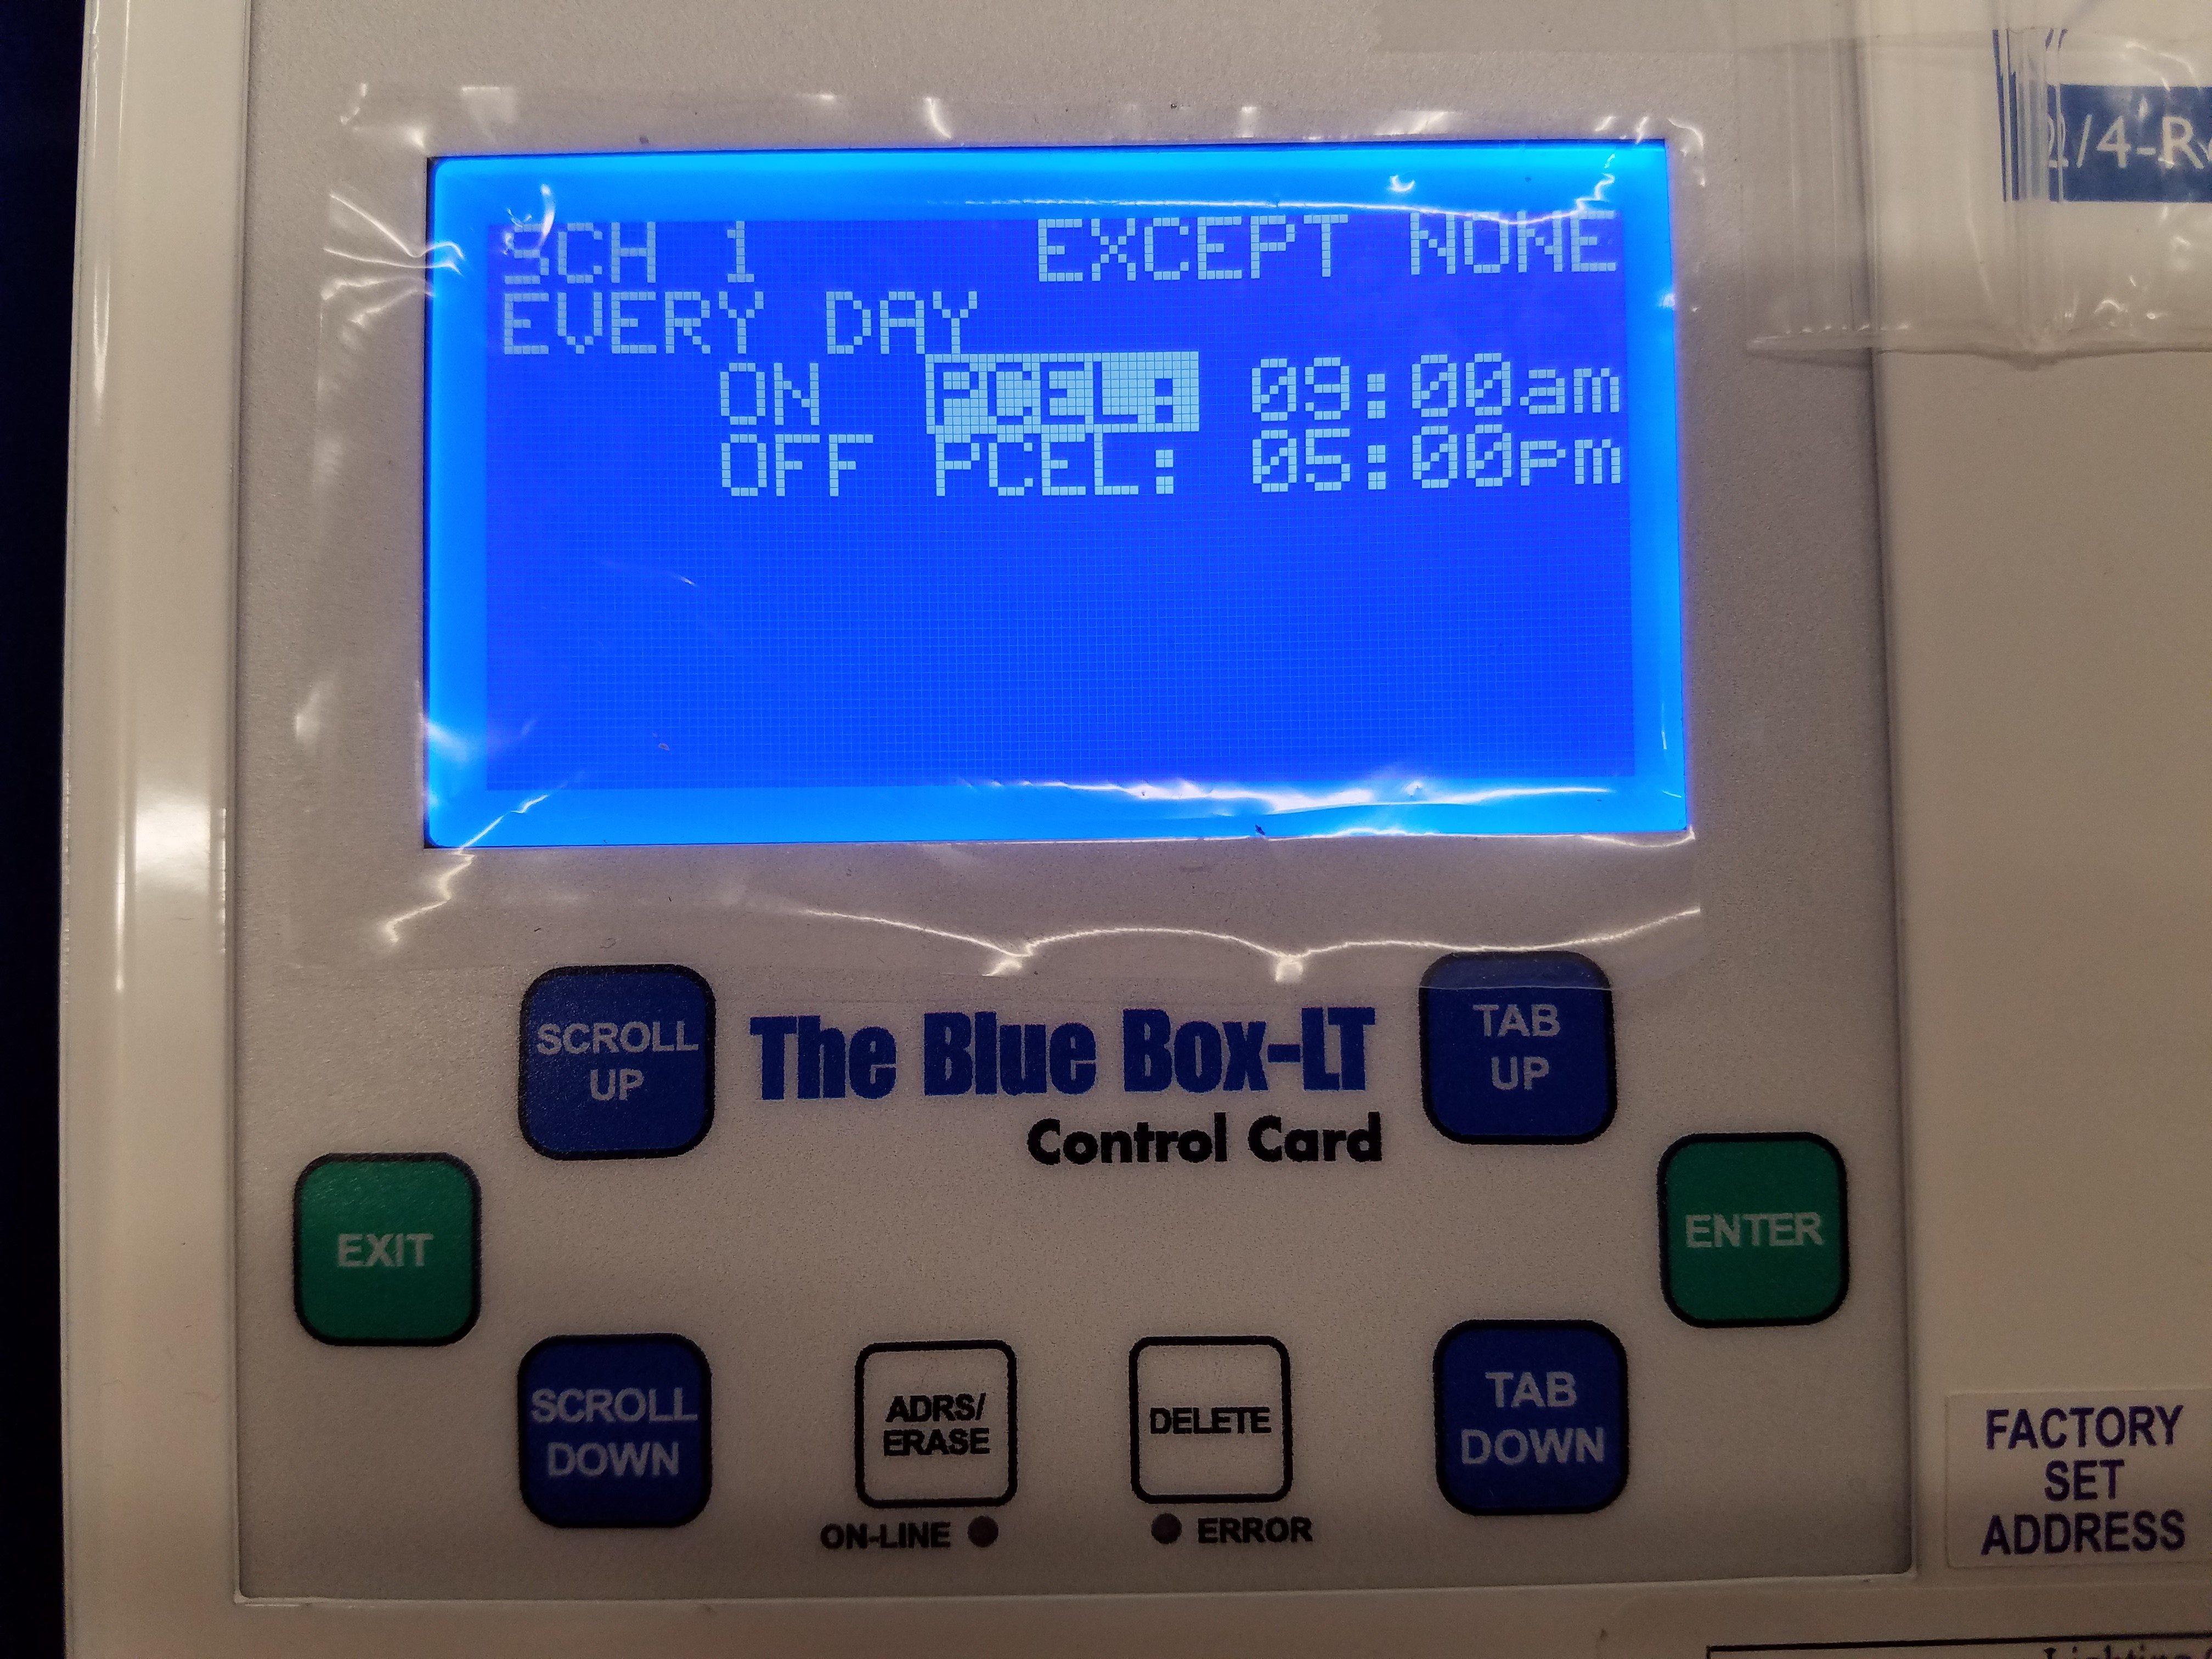
When a schedule displays ON PCEL or OFF PCEL, it is switching based on a photocell. The ON PCEL time indicates what time the onboard photocell, in a BlueBox, is going to start controlling the group. At the OFF TIME, the lights sweep off, and the photocell relinquishes control of the group. If you have the word PCEL selected, and you press ENTER, you will see this screen:
ANALOG1 shows the current value that the on board photocell is reading. TIME DELAY is how long the photocell must remain past the triggering levels, before actually switching the loads. ON WHEN LEVEL FALLS BELOW will turn the loads on when the lighting level read by the photocell is under the set value. OFF WHEN LEVEL RISES ABOVE will turn the loads off when the lighting level read by the photocell is above the set value.
Astronomical
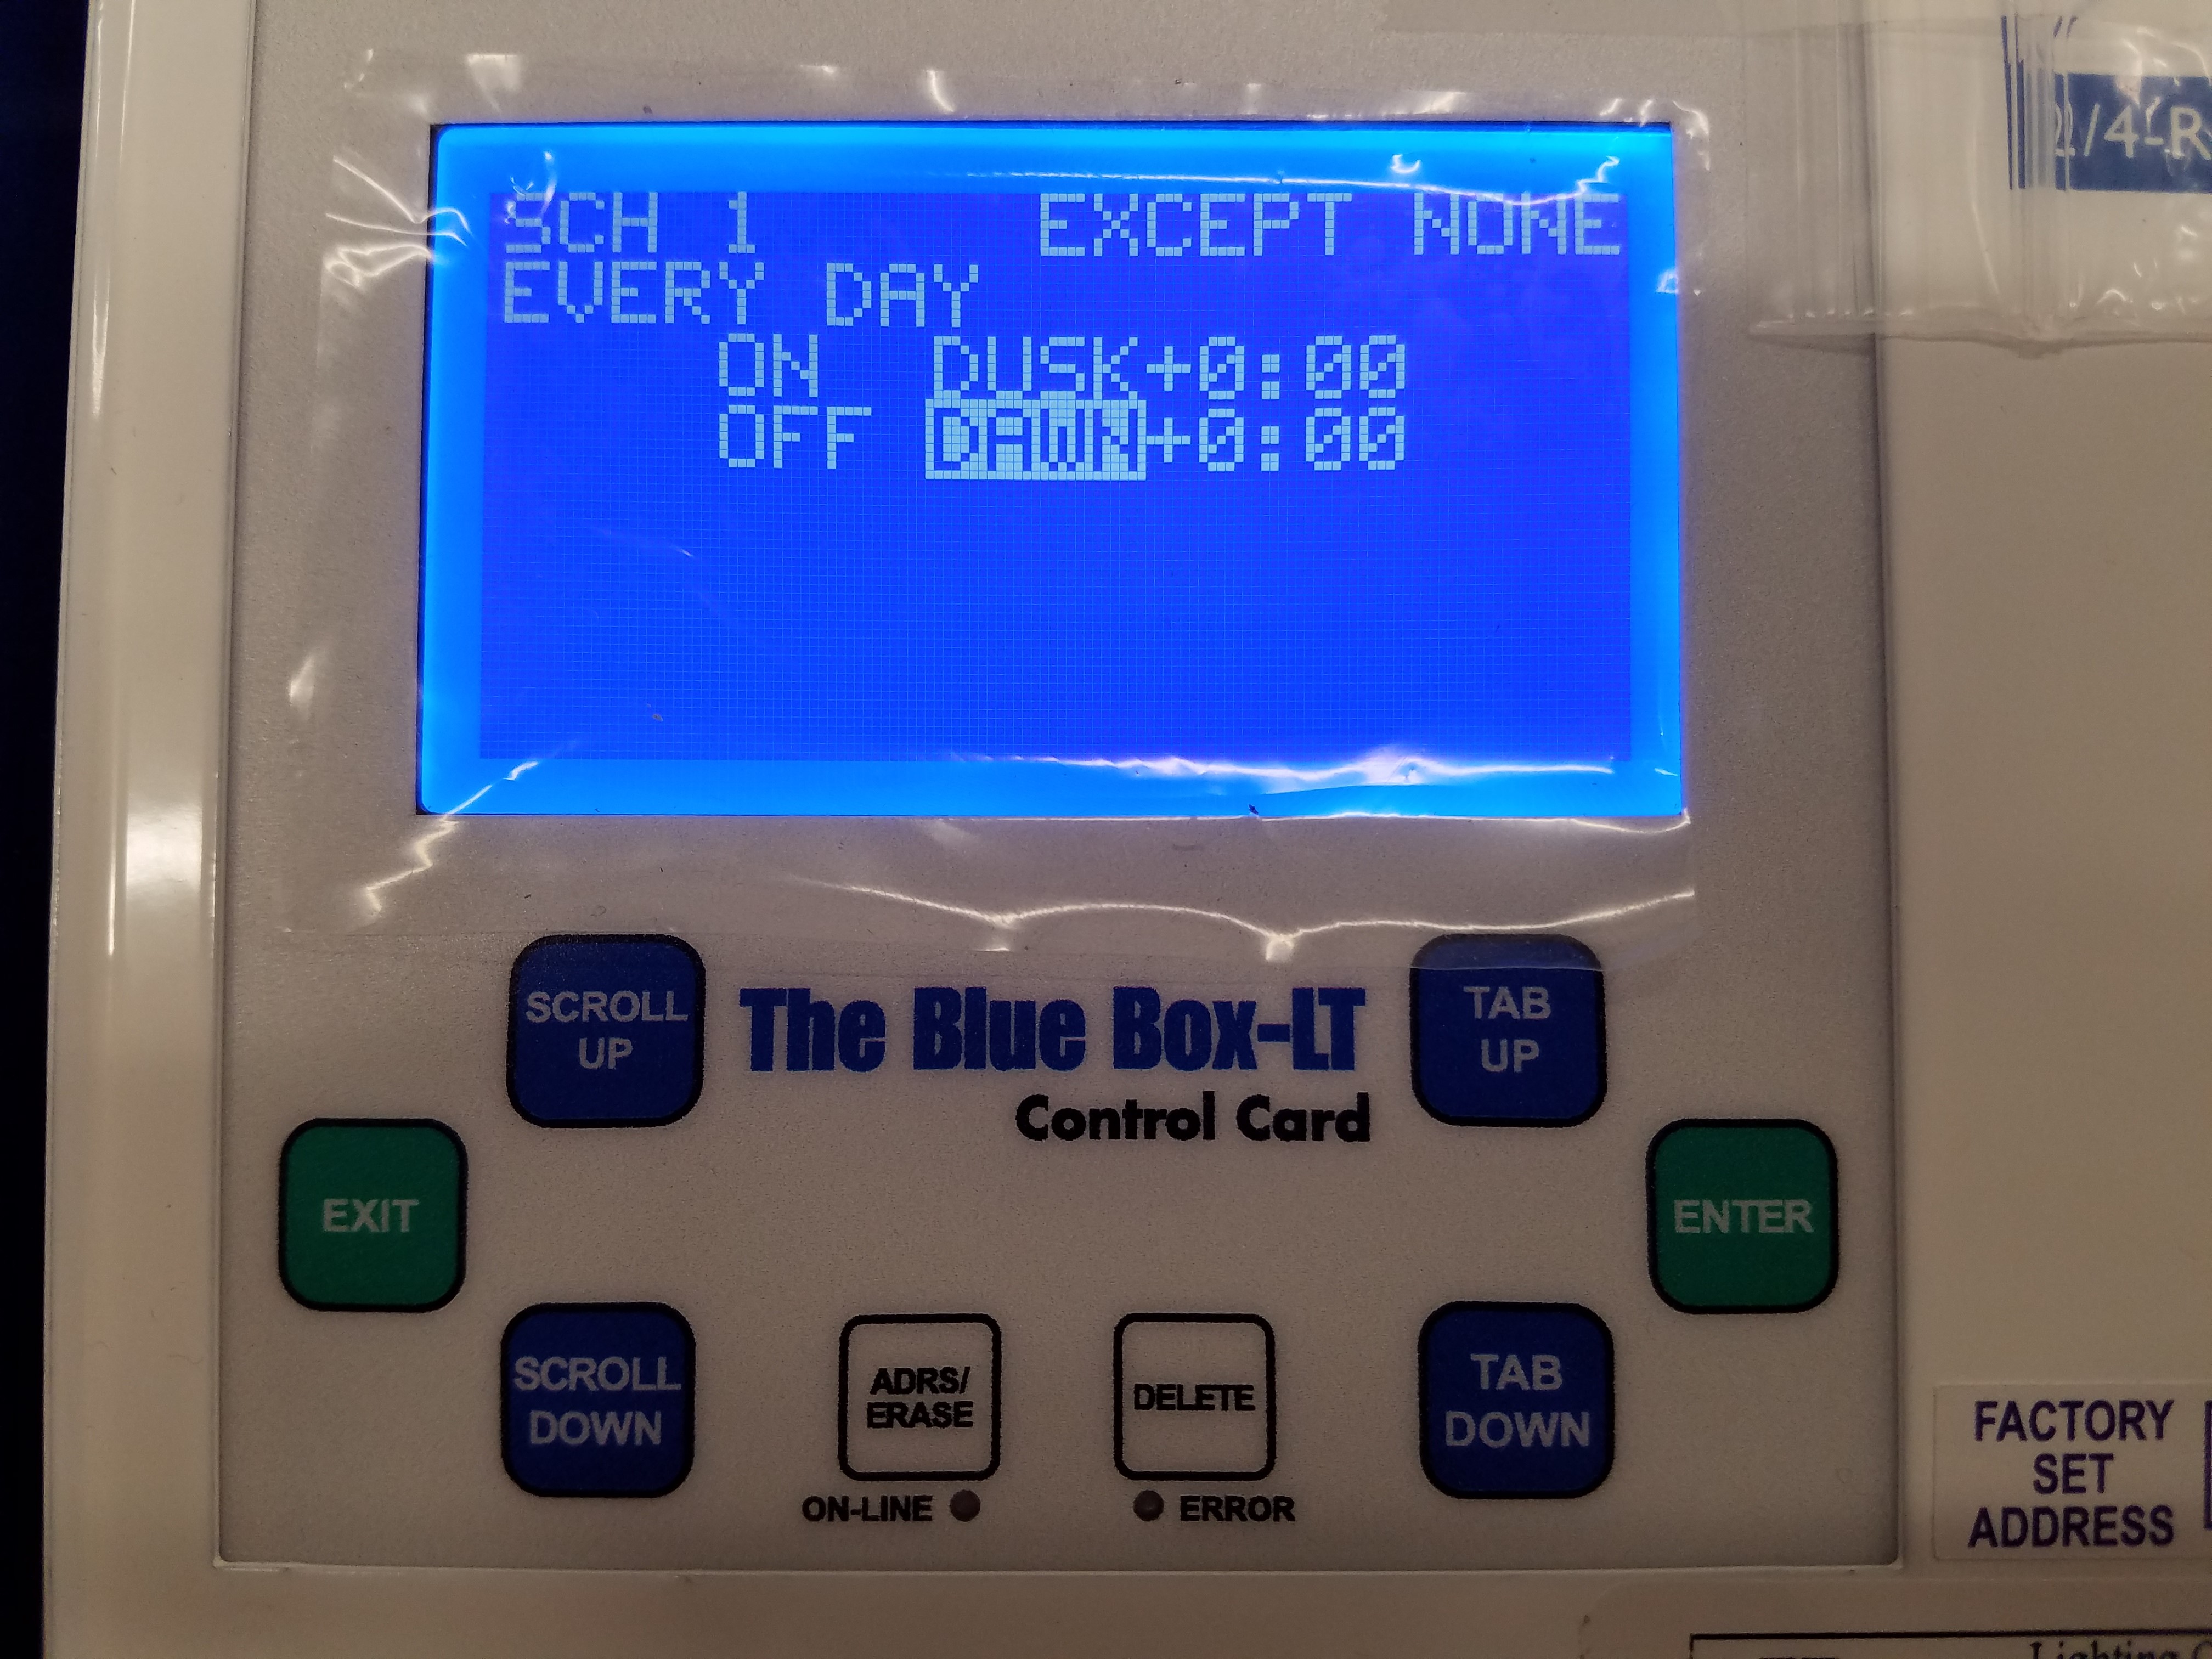
When a schedule displays ON DUSK, ON DAWN, OFF DUSK, OR OFF DAWN, it is switching its group according to an astronomical clock. Using this method, the controller will use the longitude and latitude entered in its SYSTEM OPTIONS, to calculate the DUSK and DAWN times. DAWN indicates the time that the sun sets. DAWN indicates the time that the sun rises. The times that the controller calculates dusk and dawn to be, will flash periodically on the start screen of the system controller.
Setting up Holidays & Exceptions
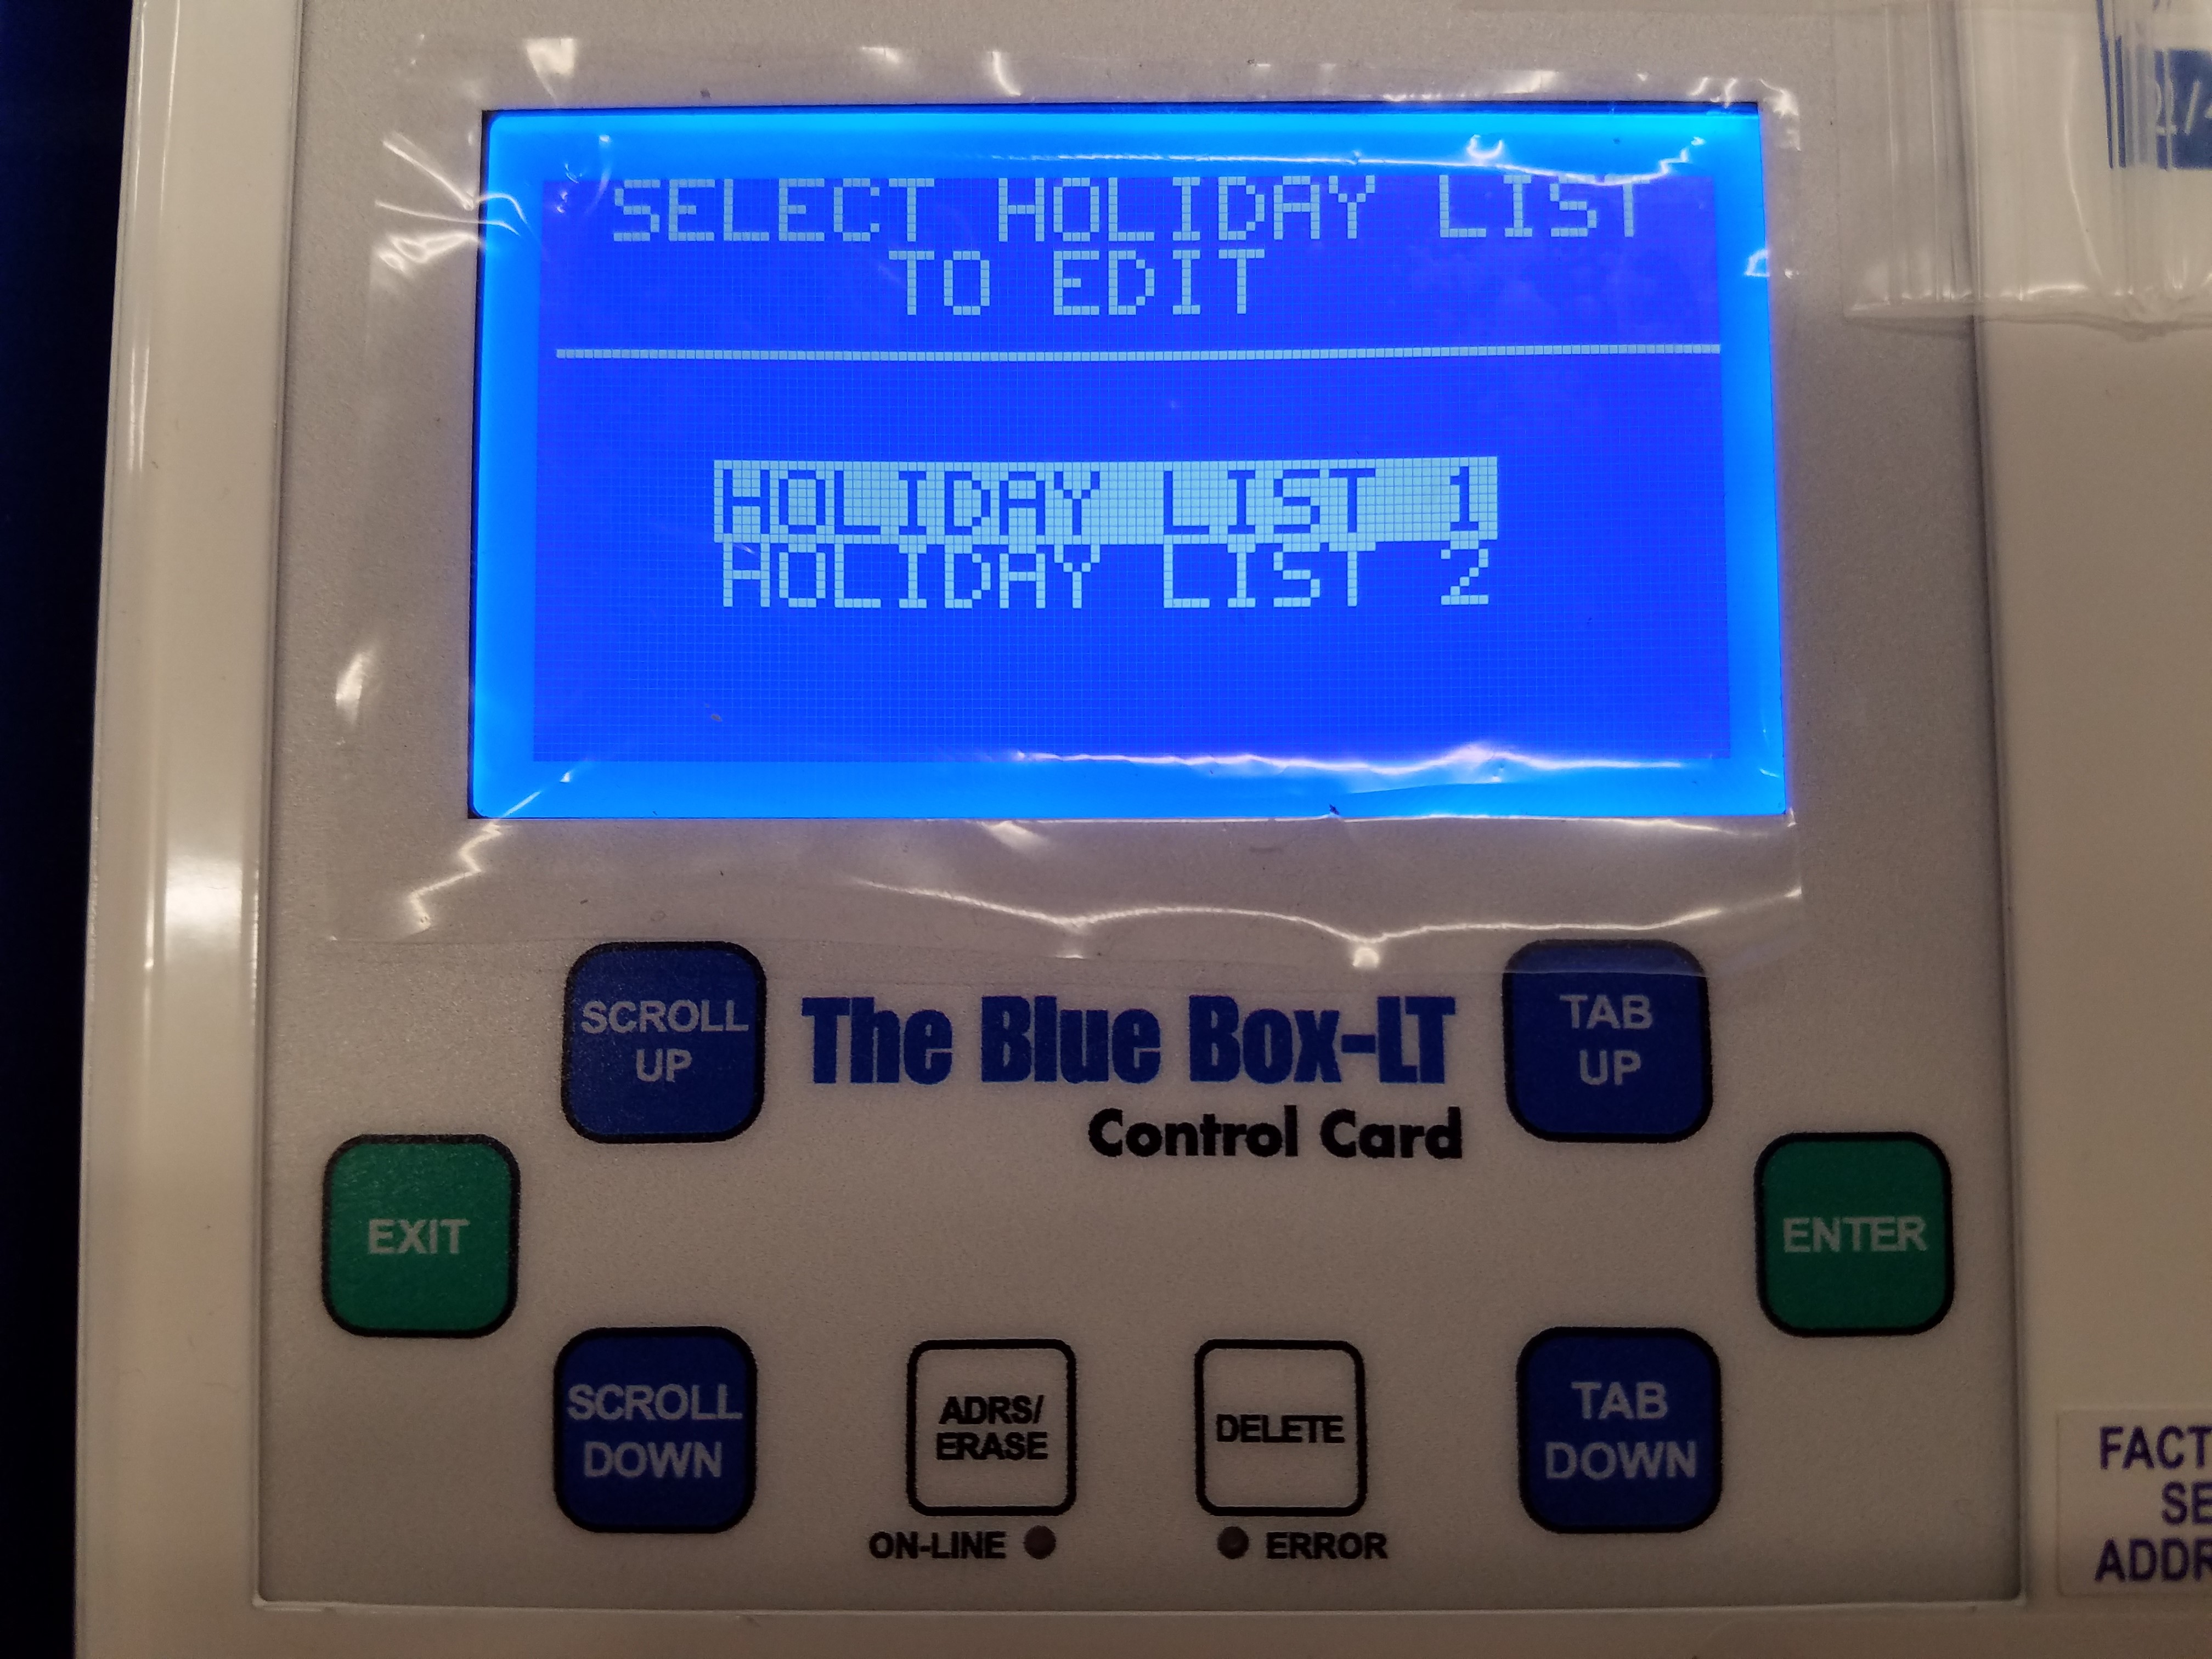
By default, schedules are set up with no exceptions (EXCEPT NONE). An exception is a day of the year, in which the schedule does not run. To set up an exception, the day you would like to exempt must be entered into a holiday list. To do this, enter into the SETUP MENU from the USER MENU. Select SYSTEM SETUP MENU and press ENTER, and then select EDIT HOLIDAYS and press ENTER. Enter into either holiday list. Pages 1 & 2 of the holiday list have predefined, commonly used holidays. Pages 3 & 4 have dates that you can adjust yourself. To make a day in the holiday list active, scroll on NO next to the day and change it to YES:
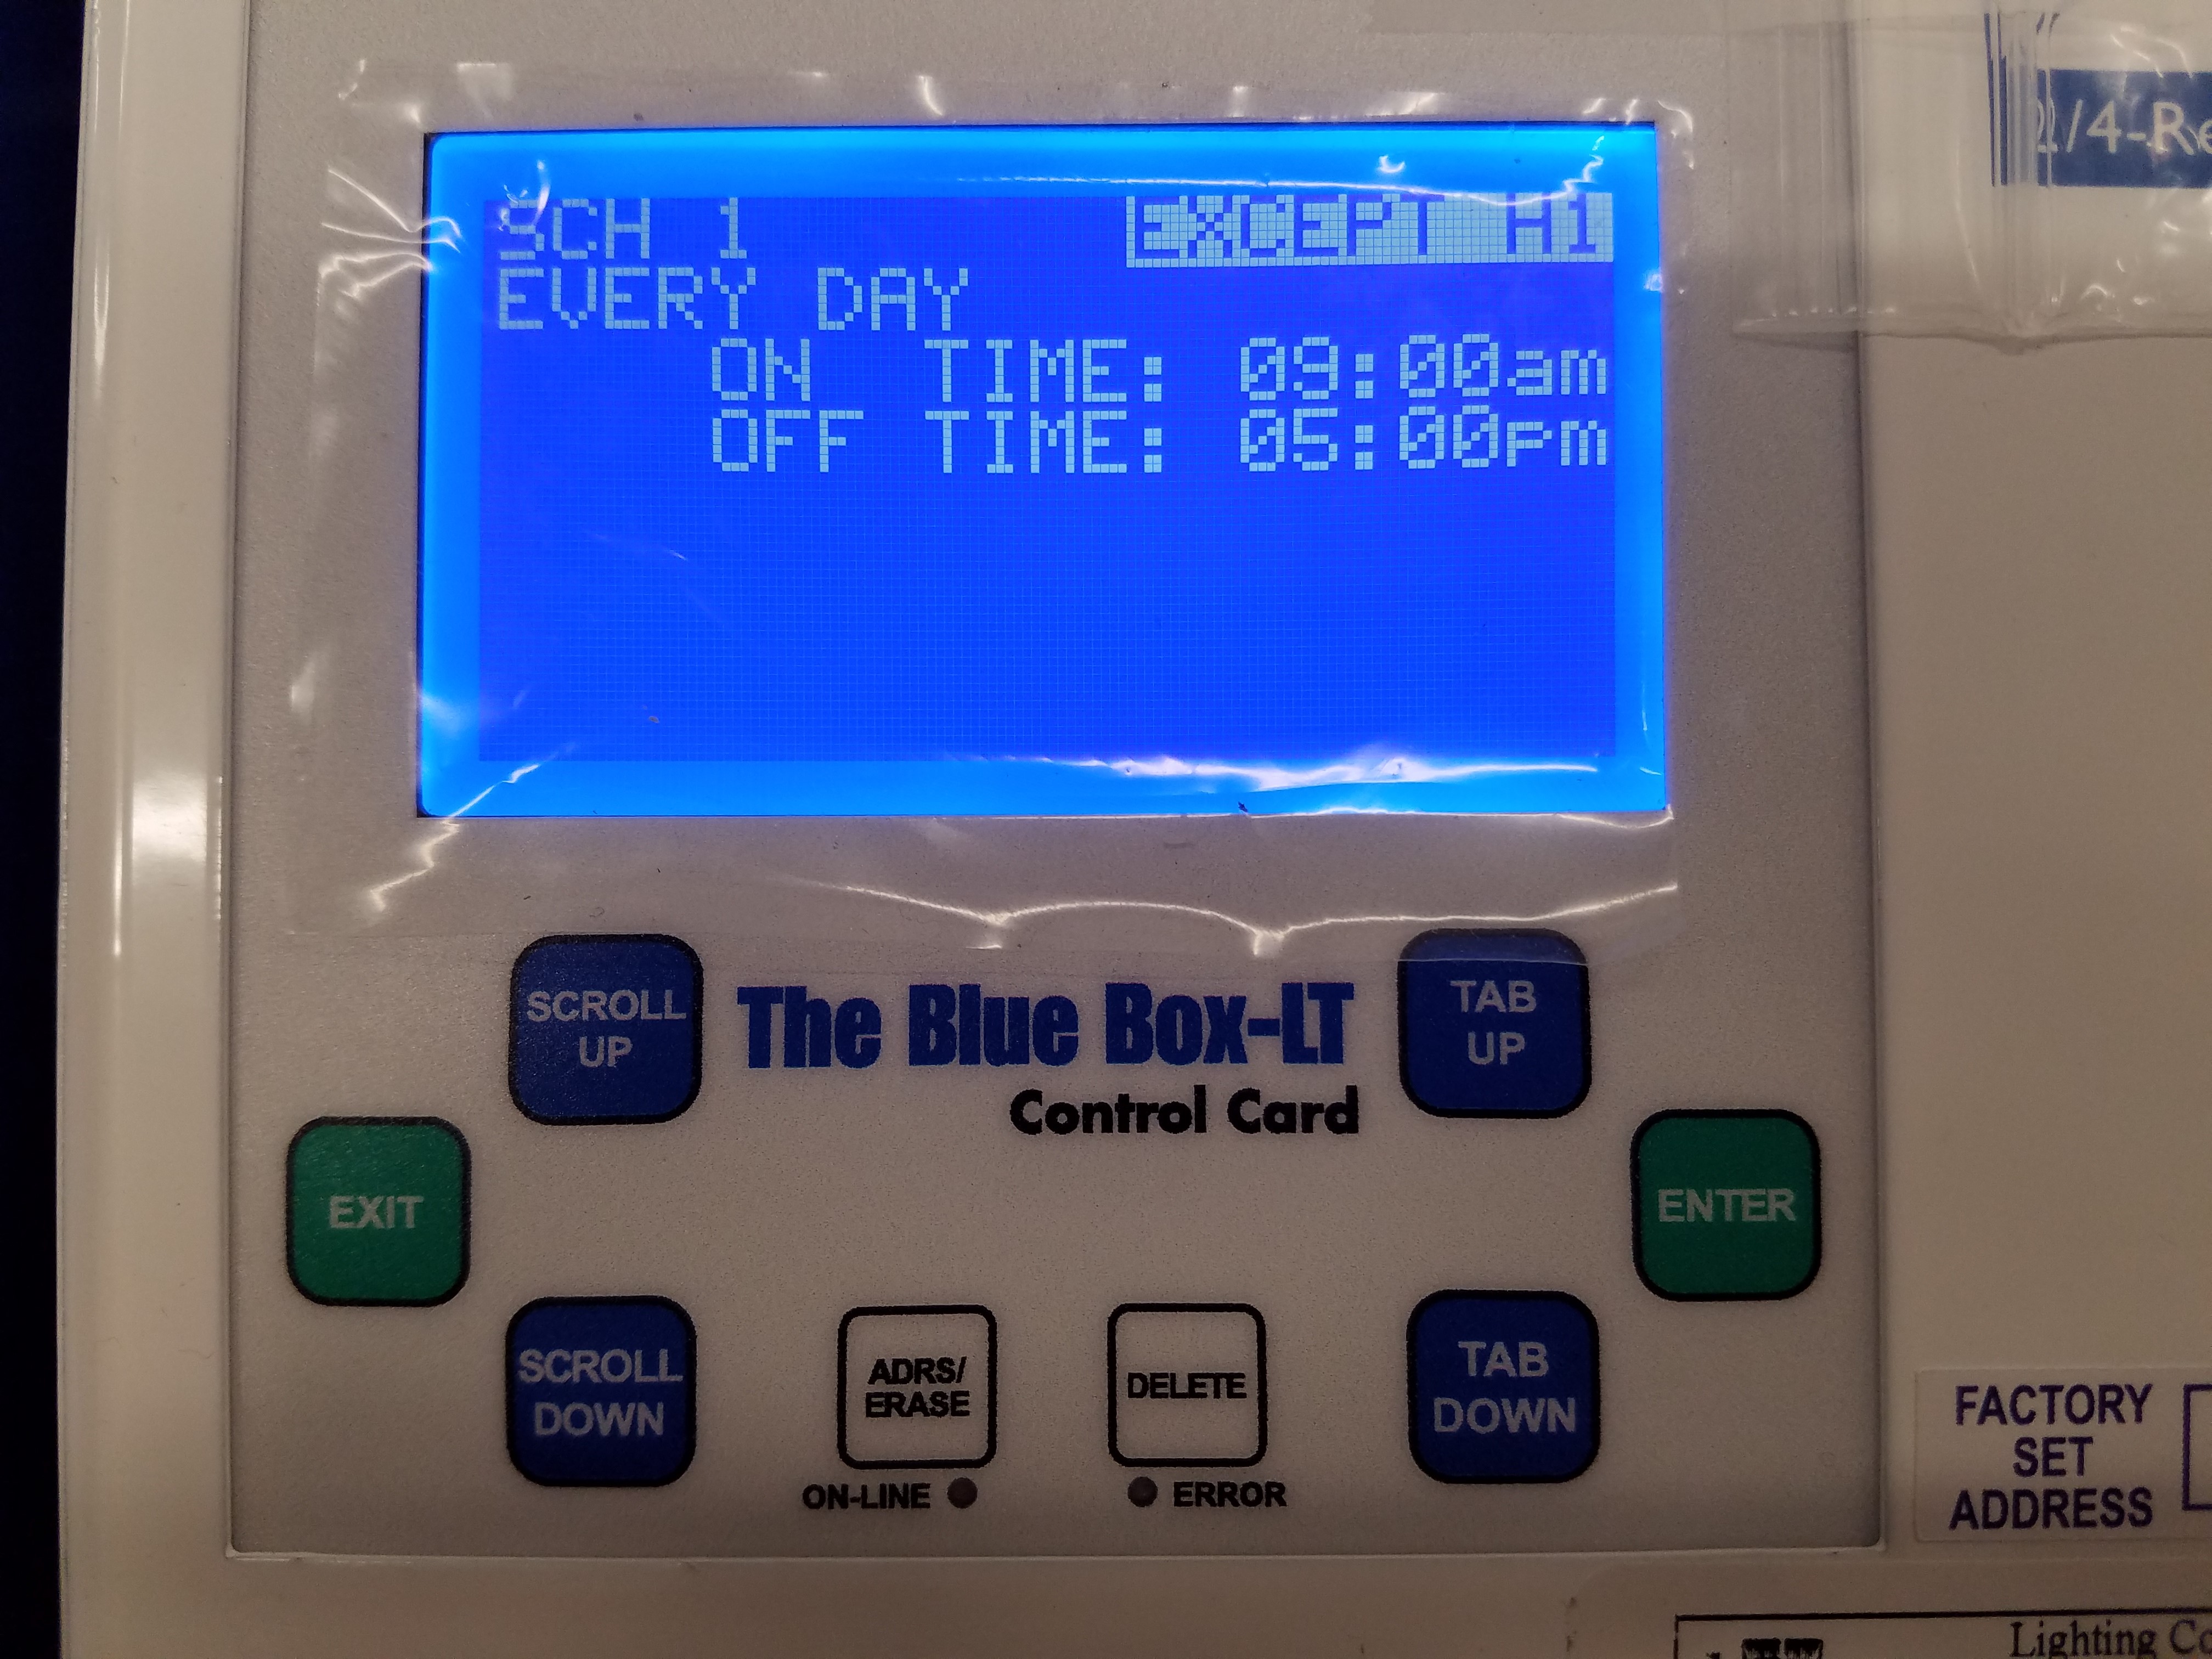
After you have set the day to YES in the HOLIDAY LIST, scroll on EXCEPT NONE in the schedule screen to change it to EXCEPT H1, EXCEPT H2, or EXCEPT H1+H2. Using EXCEPT H1 will exempt any active days in HOLIDAY LIST 1. Using EXCEPT H2 will exempt any active days in HOLIDAY LIST 2. EXCEPT H1+H2 will exempt activate days on both holiday lists:
Disabling or Deleting a Schedule
To disable a schedule, enter into REVIEW SCHEDULE from the USER MENU. Select the schedule you would like to disable and press SCROLL DOWN. The display will read ‘Disabled’ where the group normally appears to indicate the schedule is now disabled. To re-enable the schedule, select the schedule and press SCROLL UP.
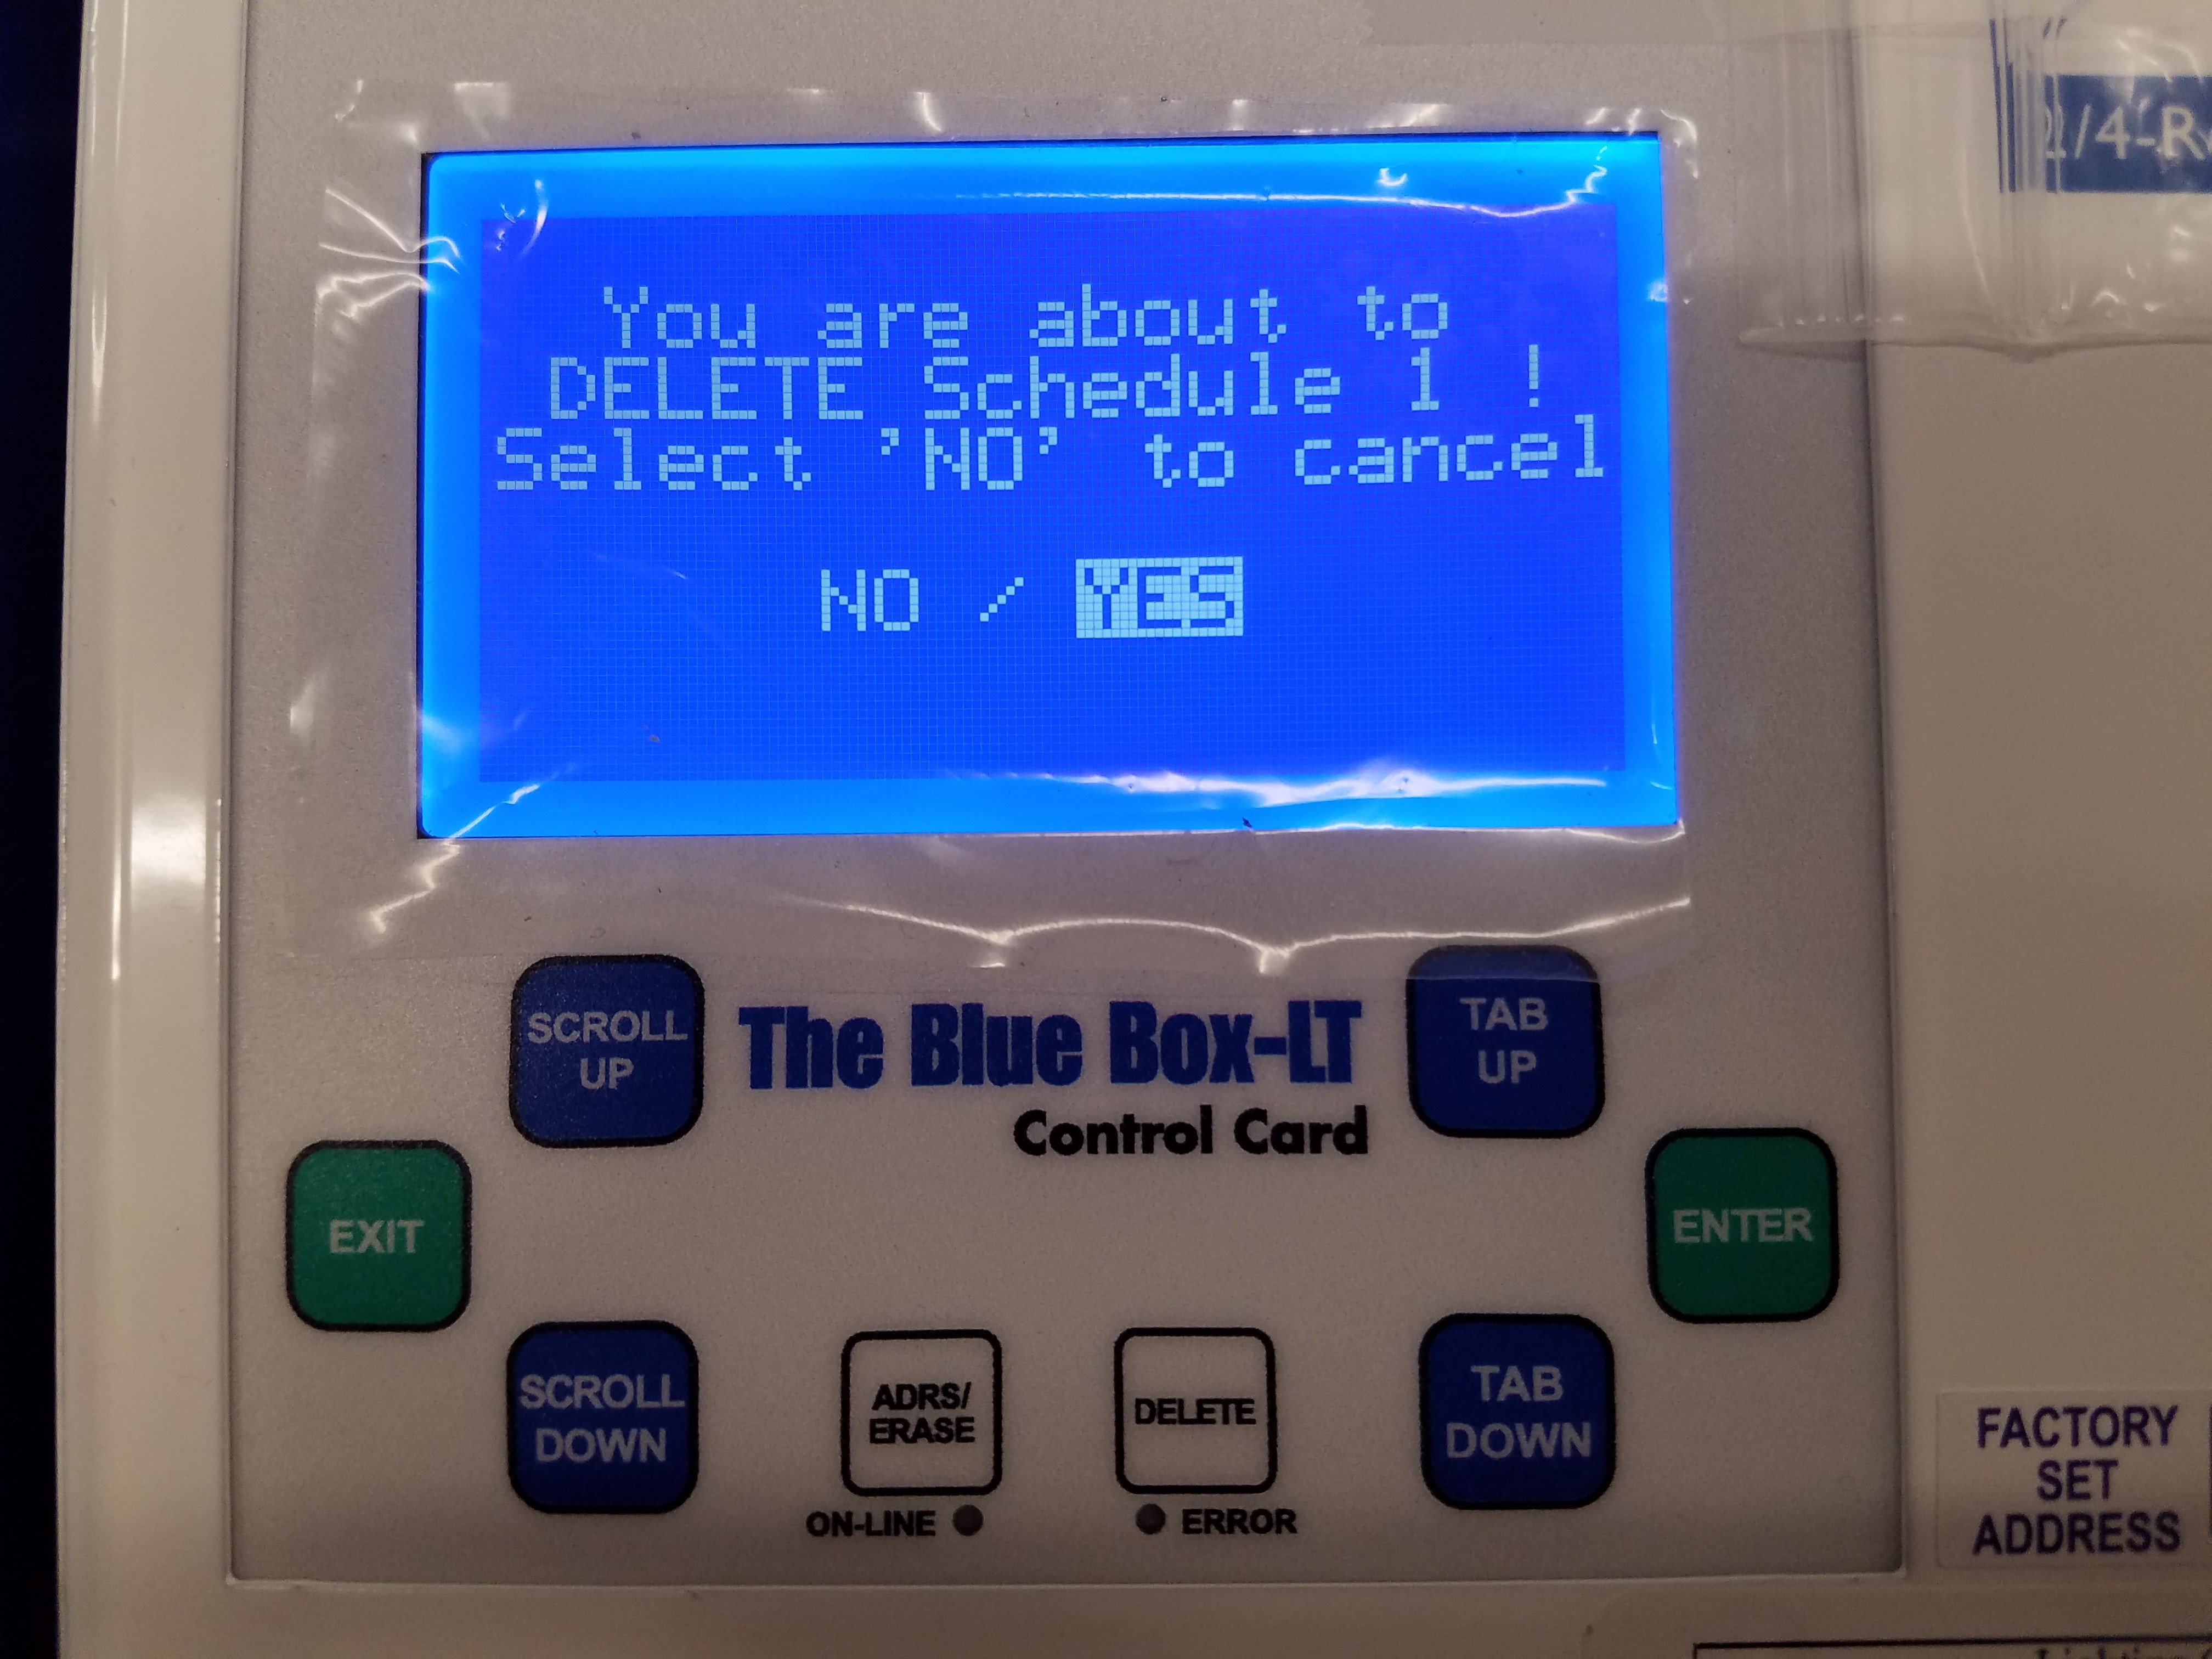
To delete a schedule, enter into REVIEW SCHEDULE from the USER MENU. Select the schedule you would like to delete and press the DELETE key. Press ENTER on ‘Yes’ confirm.